1. Go to https://puppet.com/ and download the .tar.gz Puppet enterprise master and Agent installation files.
2. Upload the puppet-enterprise tar.gz file to the Puppet Master Server.
Here we are using a server installed with CentOS
3. untar the installation file

4. Now we will start the Puppet Enterprise Master installation.
Go to the folder and run the installer file puppet-enterprise-installer
Note: if you are not using a DNS server, add the entries for the IP address and hostname in the /etc/hosts files

5. Press 'Y' to continue installation
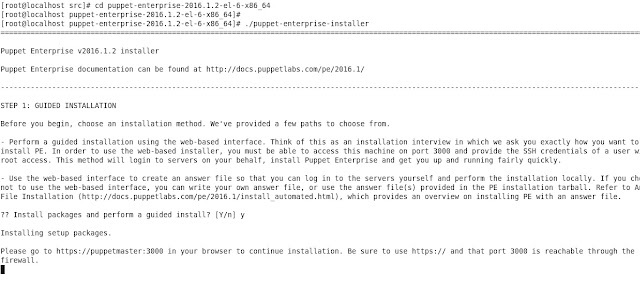
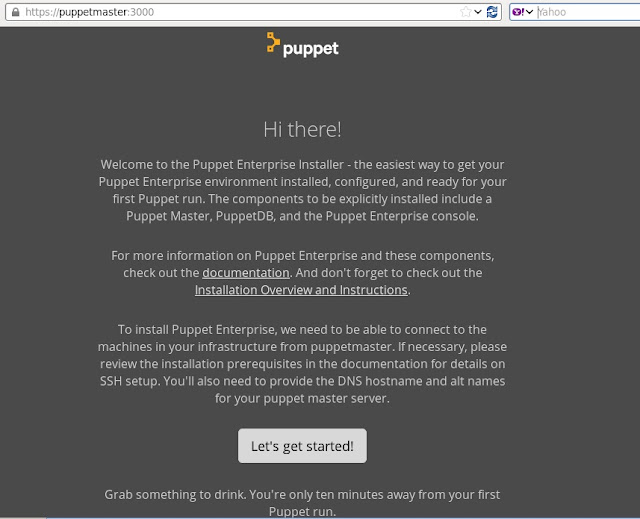
6. As shown in the above pic, open a browser and go to the url mentioned.
Here we are opening https://puppetmaster:3000
Click "Let's get started!" to continue the installation.
Note: If you are accessing GUI from a different desktop/server make sure that the port 3000 and 443 ( for later use ) is open between them
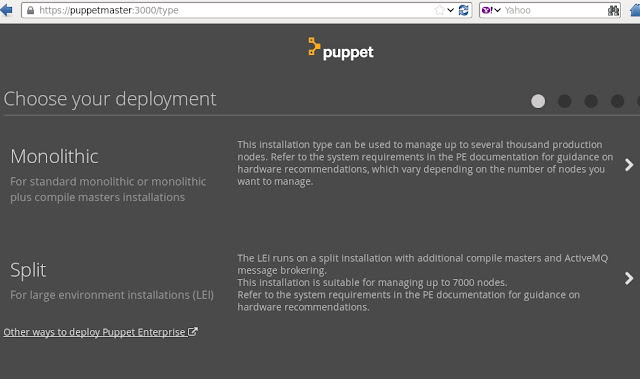
7. Choose your deployment mode.
Since my environment is less than 7000 nodes, I am using only 1 master server, I am going with Monolithic.
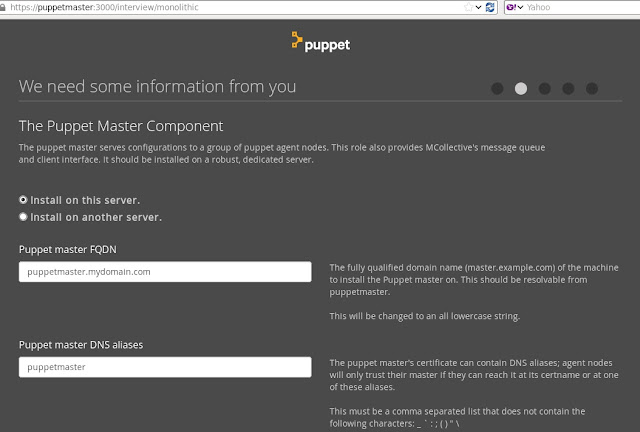
8. Enter the puppet master FQDN and Puppet master DNS alias.
Note: if you don't have a DNS server, make sure that these entries are added to /etc/hosts file
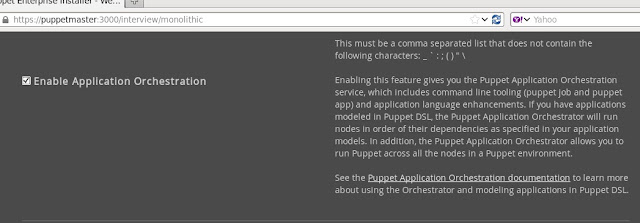
9. Enable Application Orchestration
10
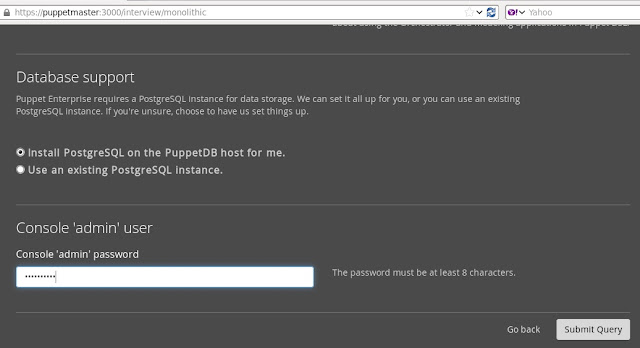
10.1 Select the database support needed.
Here I am selecting the option to install the PostgresSQL and to create PuppetDB database on it during the installation.
10.2 Enter the admin password, this is need to login to the Enterprise GUI console after installation.
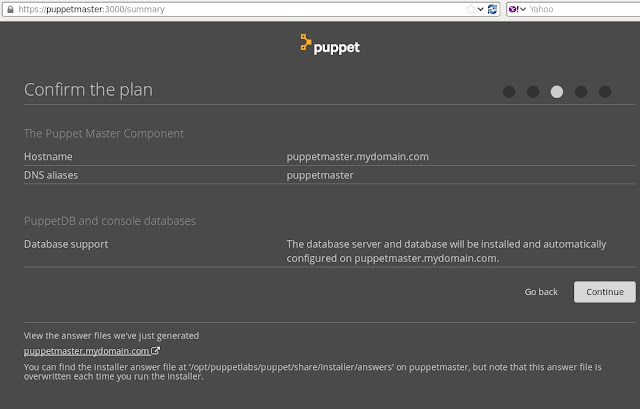
11. Confirm the plan and click "continue"
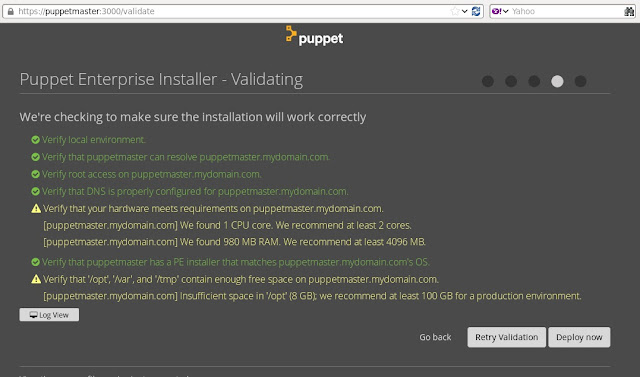
11. If there are no messages in red color, click "Deploy now".
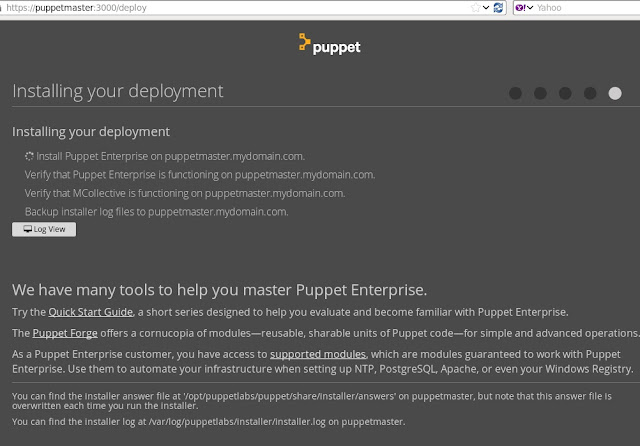
12. Now the Puppet entries is getting installed.
13. After installation you can login to the Puppet Enterprise GUI using https://puppetmaster url and user name as admin and password given in step 10.2


