Docker Installation on Linux - Fedora 24
1. Update the fedora packages,
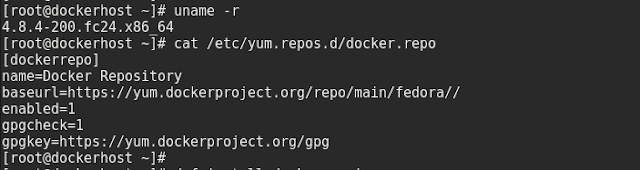
[dockerrepo]
name=Docker Repository
baseurl=https://yum.dockerproject.org/repo/main/fedora//
enabled=1
gpgcheck=1
gpgkey=https://yum.dockerproject.org/gpg

4. Now enable the docker service and start the docker.
1. Update the fedora packages,
# dnf update
2. Create the docker.repo file and add the following entries;
name=Docker Repository
baseurl=https://yum.dockerproject.org/repo/main/fedora//
enabled=1
gpgcheck=1
gpgkey=https://yum.dockerproject.org/gpg

3. Now install the docker-engine
4. Now enable the docker service and start the docker.